
 Recently, I purchased a 2010 Nissan Maxima to replace my 2009 Lincoln MKS. The exhaust, while sounding great, starts getting on my nerves after a while. The reason for this is not because it’s particularly loud, but because I have a bad case of Tinnitus, or ringing in the ears. Certain noises and vibrations aggravate this condition, so I tend to purchase quieter cars. Read on for how I got rid of a lot of exhaust and road noise coming from the rear of the car.
While the cabin of the 2009-2010 Nissan Maxima gets good marks for being quiet in reviews, it just wasn’t quiet enough for my tastes, so I took out a roll of FatMat sound deadening material to hopefully quiet it down. Largely, I succeeded. My next project might involve using some on the front wheel wells and firewall, once I figure out how to get at those parts of the car. Anyway, this article is for the trunk, so let’s get to it.
This is a project that just about anyone should be able to complete, if they have enough patience and time to do it.
The first step is to get the following tools:
1. Sound Deadening material (explained below).
2. Flat-blade screwdriver and/or panel puller tools (either should work).
3. Exact-o or other sharp-bladed knife. Use one that you don’t mind getting sticky stuff on.
4. Roller or other object which can be used to press the sound deadening material onto the metal (hint: a spray paint can top works well, or a roller used to securing formica).
5. Flashlight, for illuminating hard-to-see areas.
6. Patience – comes in handy!
7. Container to hold fasteners – not required, but quite handy.
Before you can get started, you need plenty of sound deadening material. The most popular is Dynamat Extreme, but there are plenty of others. I don’t intend for this to be an article about sound deadening materials, so go ahead and find something in your budget that is a butyl rubber and adhesive mat. If you Google “Dynamat”, “FatMat”, “RaamMat” or “automotive sound deadening“, you’ll get lots of results. If you’re like me, and only need a slight quieting, and aren’t planning on having a powerful sound system installed, you can get away with almost any good quality material, without having to spend hundreds of dollars.
How much material should you get? I estimate that I used about 15-20 square feet to do my trunk, and it’s not a complete job, just enough to quiet things down a bit. Get extra, because you can store it if you don’t use it all, or use it in other places on the car or even double up the layers, if need be.
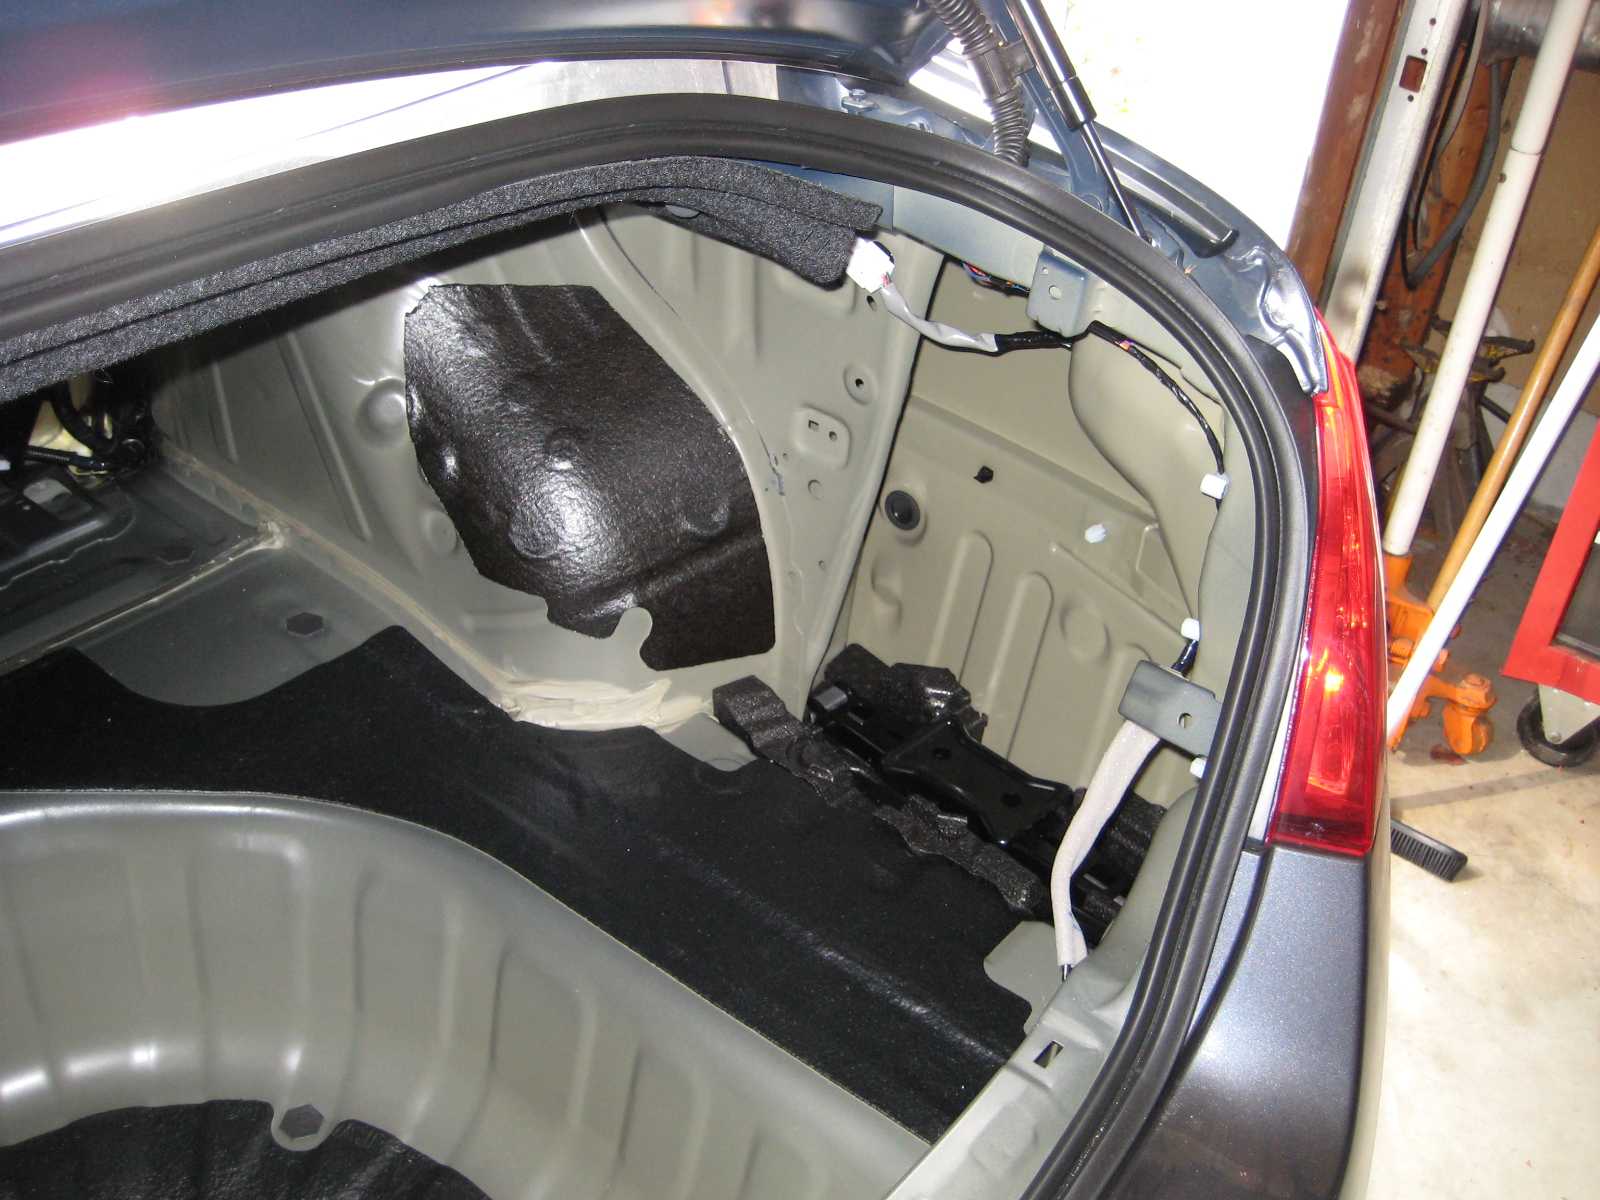
Let’s get started. First things first, take everything out of your trunk. You’ll be removing the entire liner of your trunk, so you don’t want anything in there. Also, remove your spare tire and any tire-changing equipment your car came equipped with.
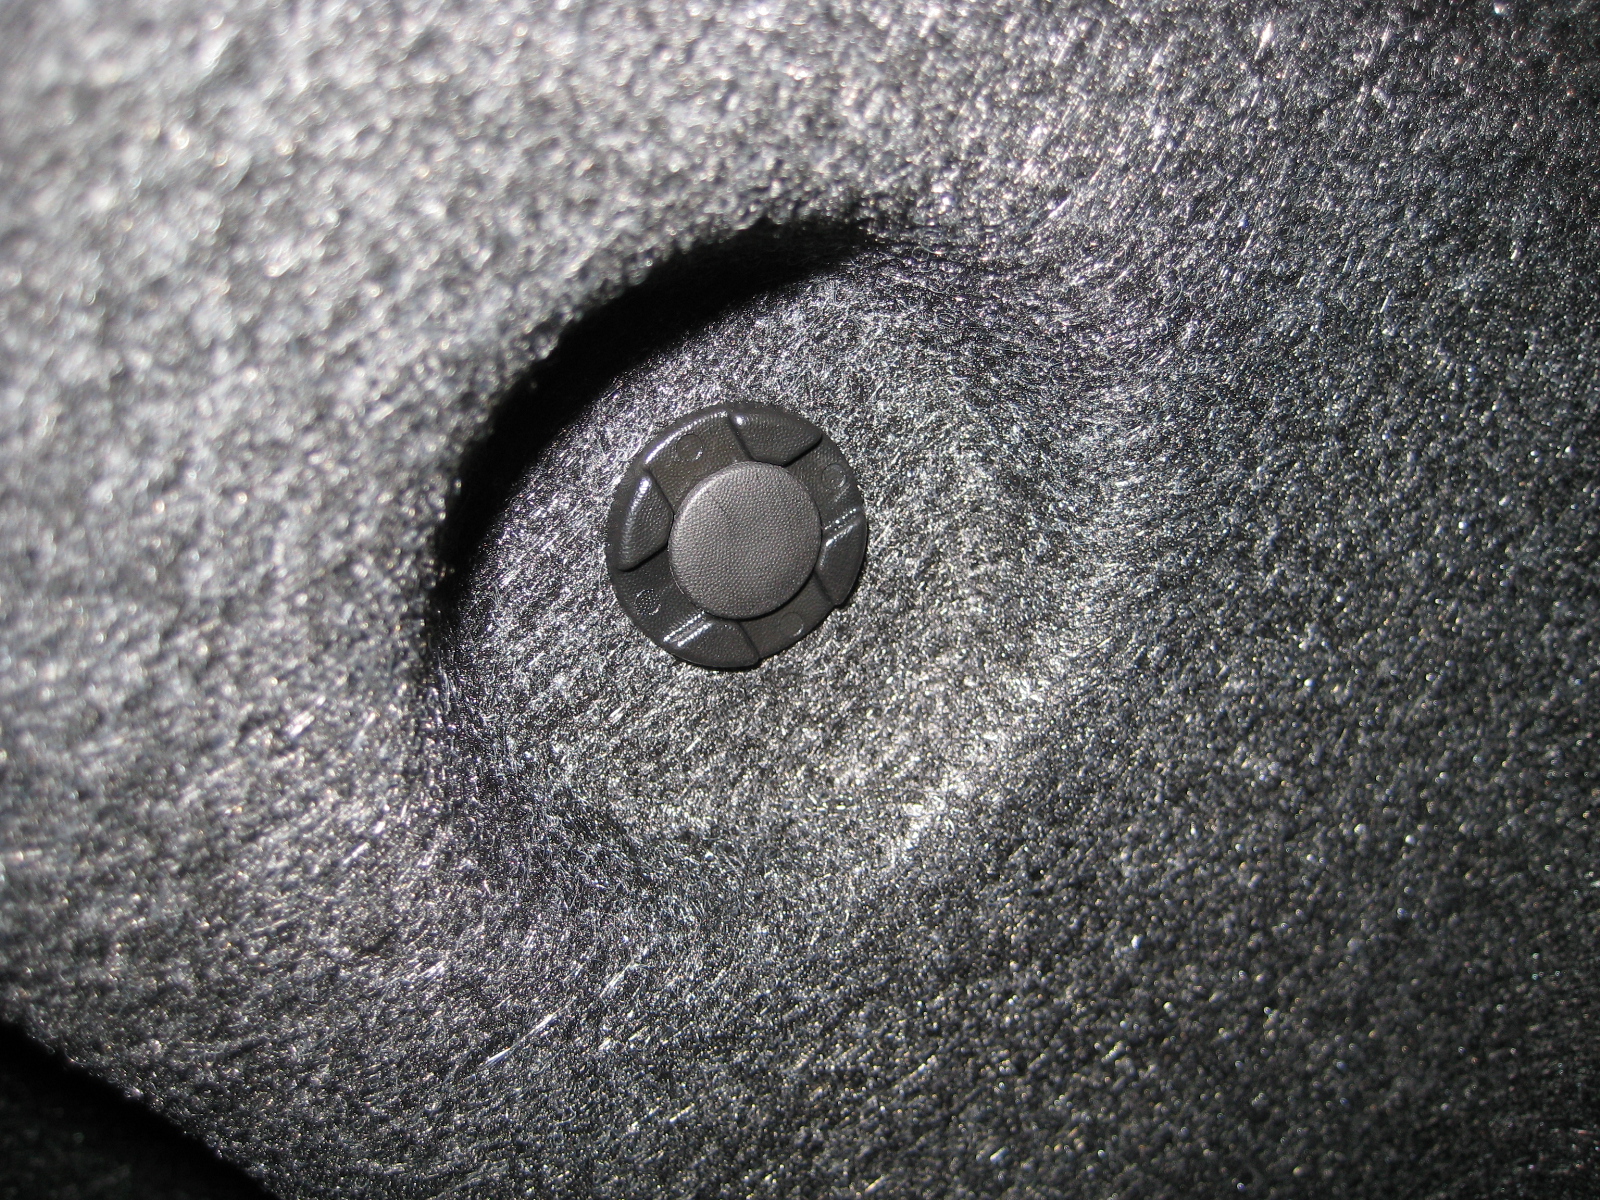
Next, find all the fasteners which hold on the three pieces lining the rear of the trunk. Your car may have more or less pieces lining the trunk, but the main ones you want to remove are on the left and right wheel wells and the rearmost lining, which usually has the trunk latch in it.


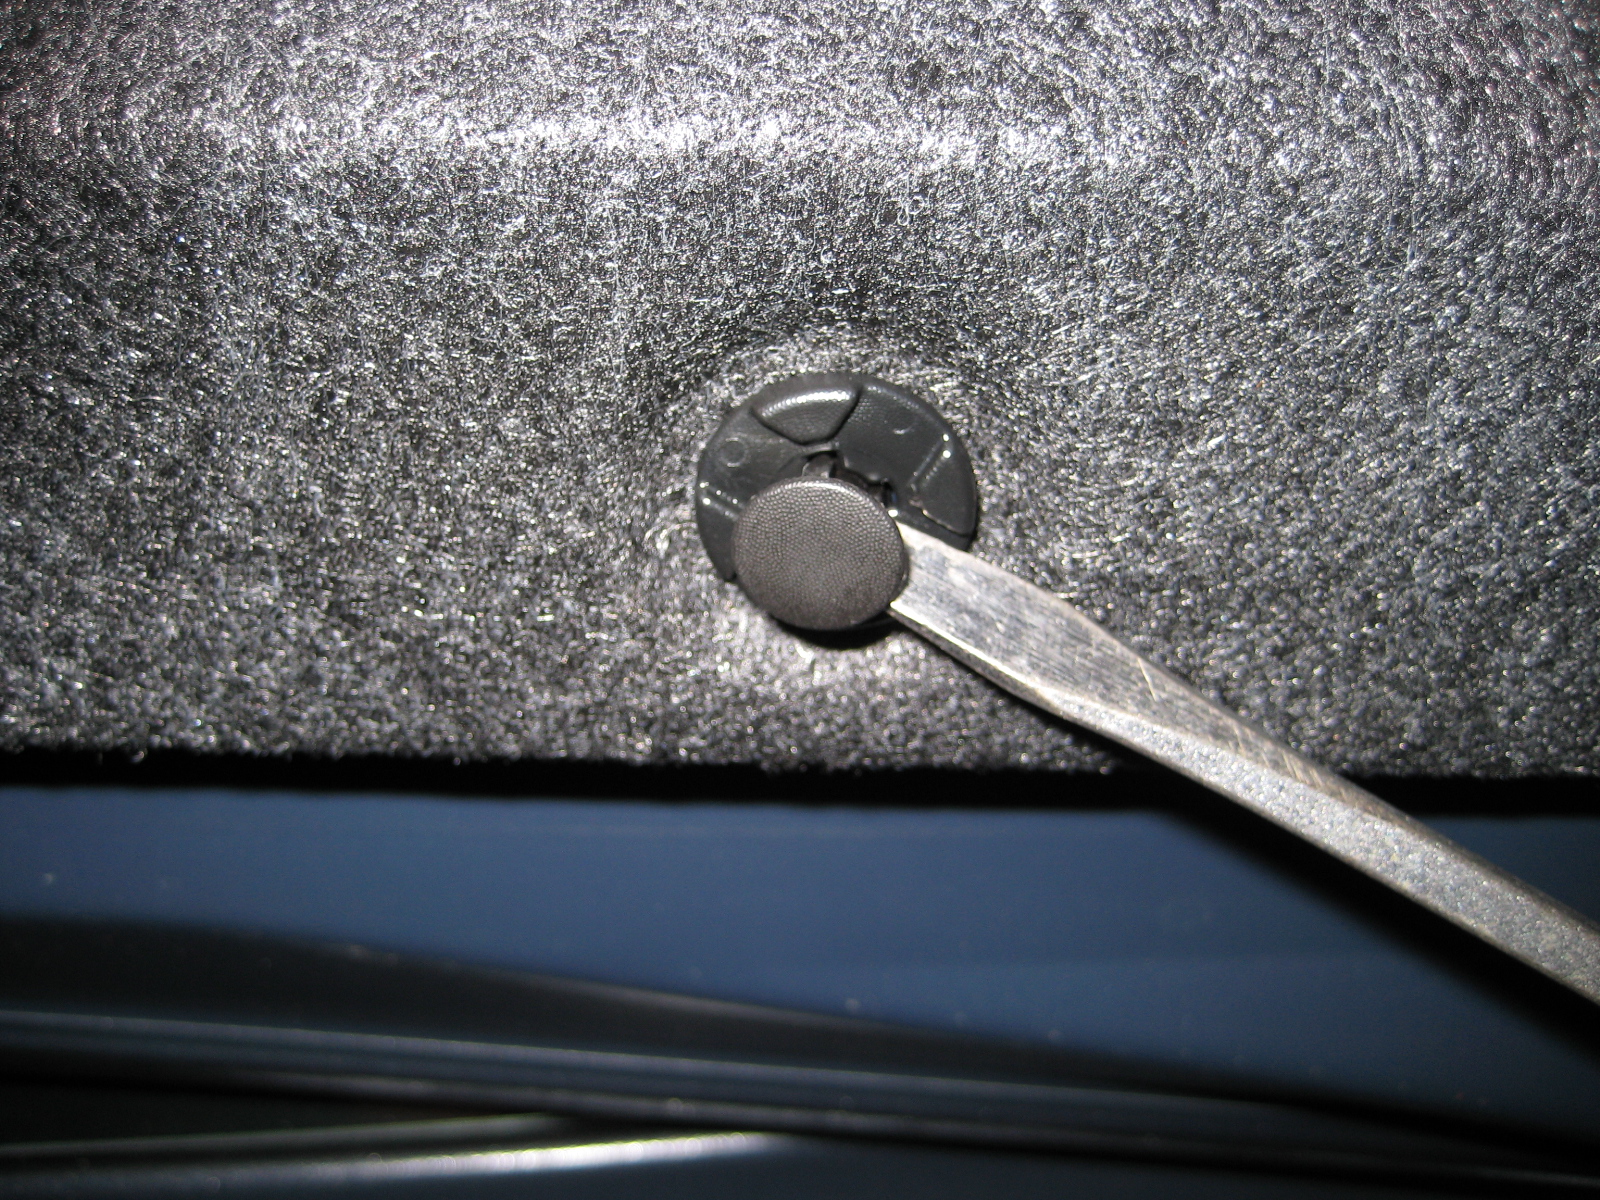
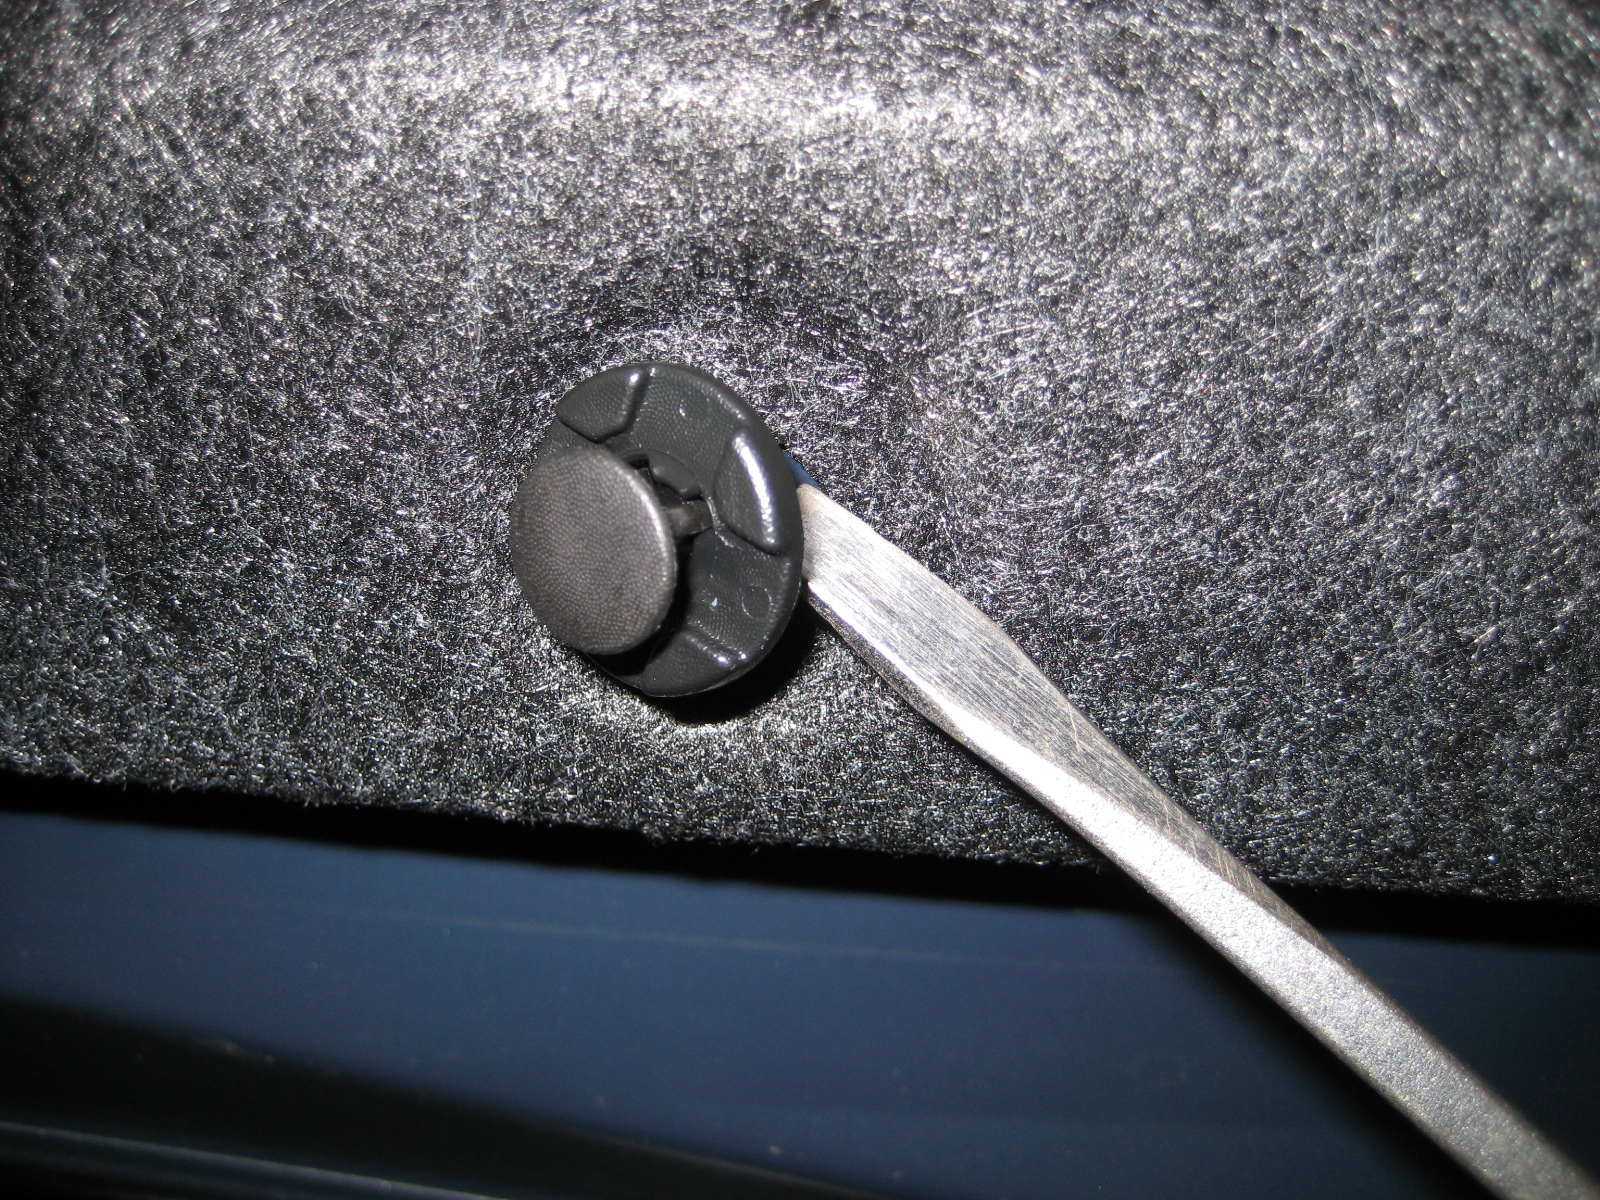
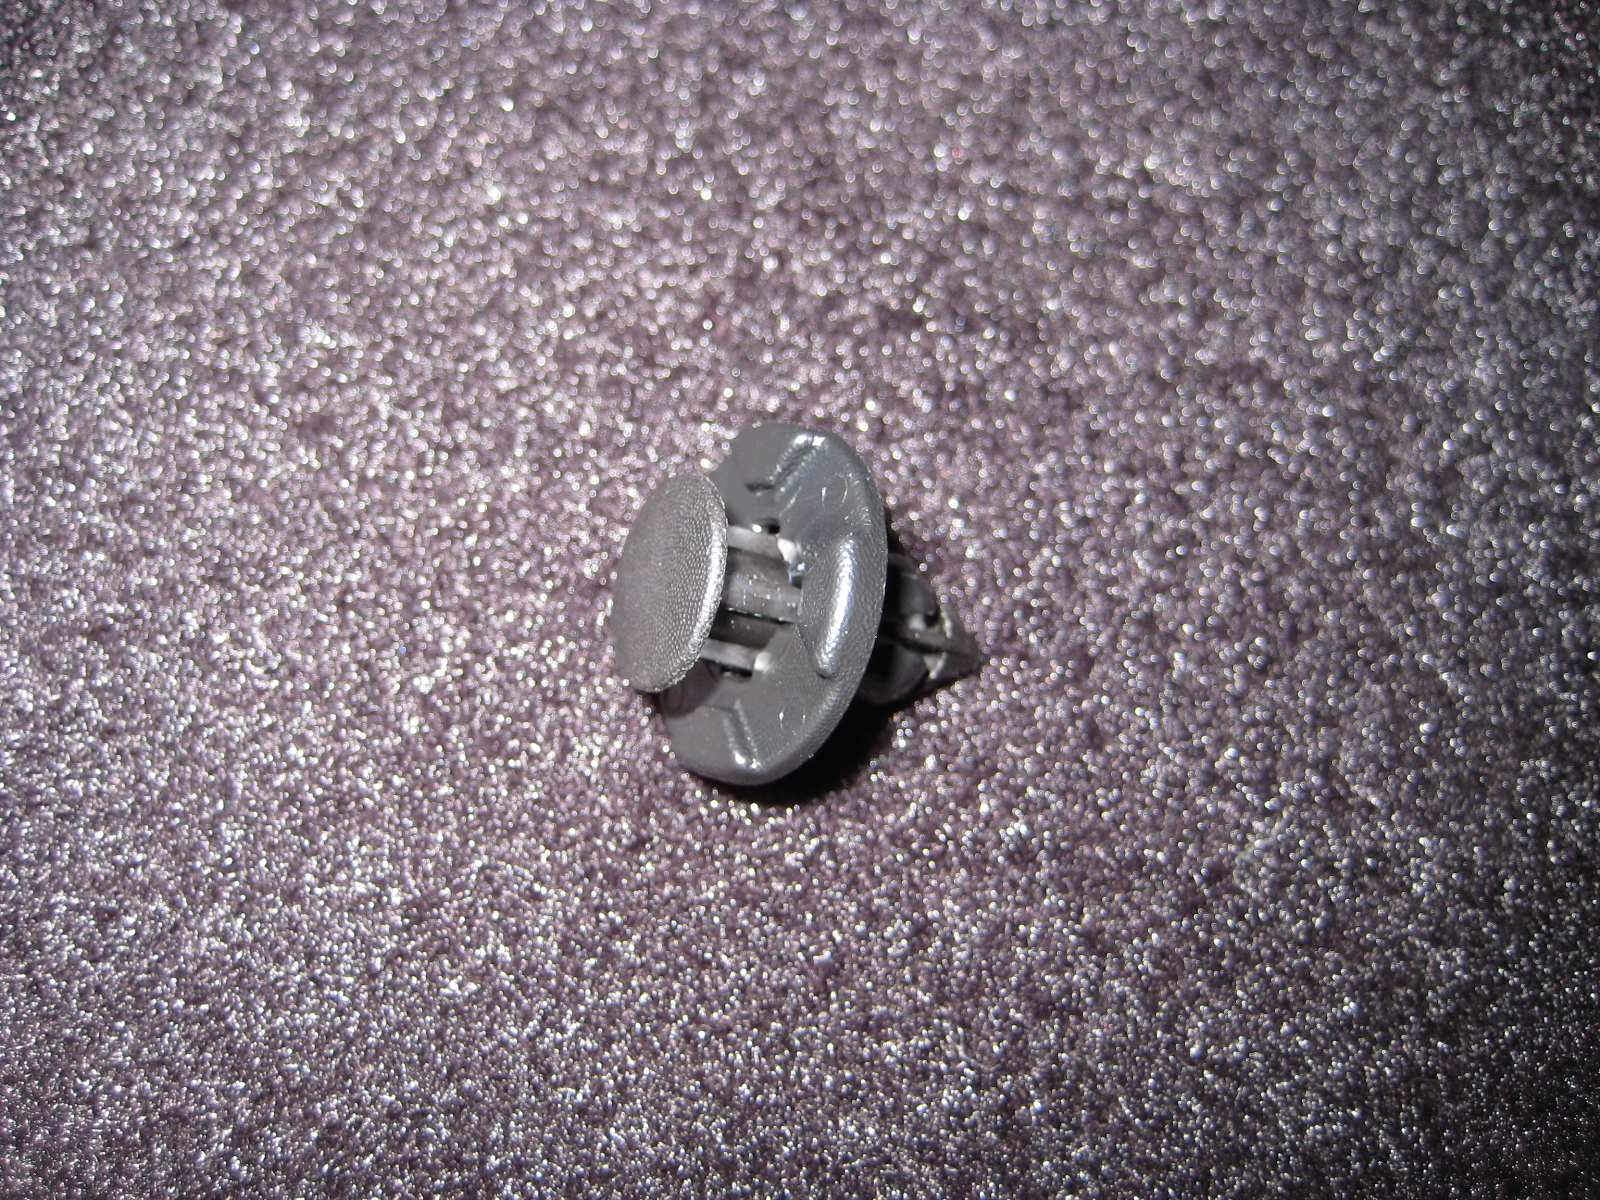
 There are several types of fasteners, but the ones in the Maxima were all push-in types, which are easily removed by prying them up with your flat-bladed screwdriver. Most of the ones I removed required me to pry twice with my screwdriver – once to get the head of it to pop up, and the second to remove the two-piece fastener from the lining. If you’re not sure how to release the fasteners, just take your time, and if you break one, they’re usually less than a dollar to replace. Just keep the ones you remove in your fastener container so they don’t get lost. If you break or lose any, look on eBay for cheaper replacements than going to your dealer.
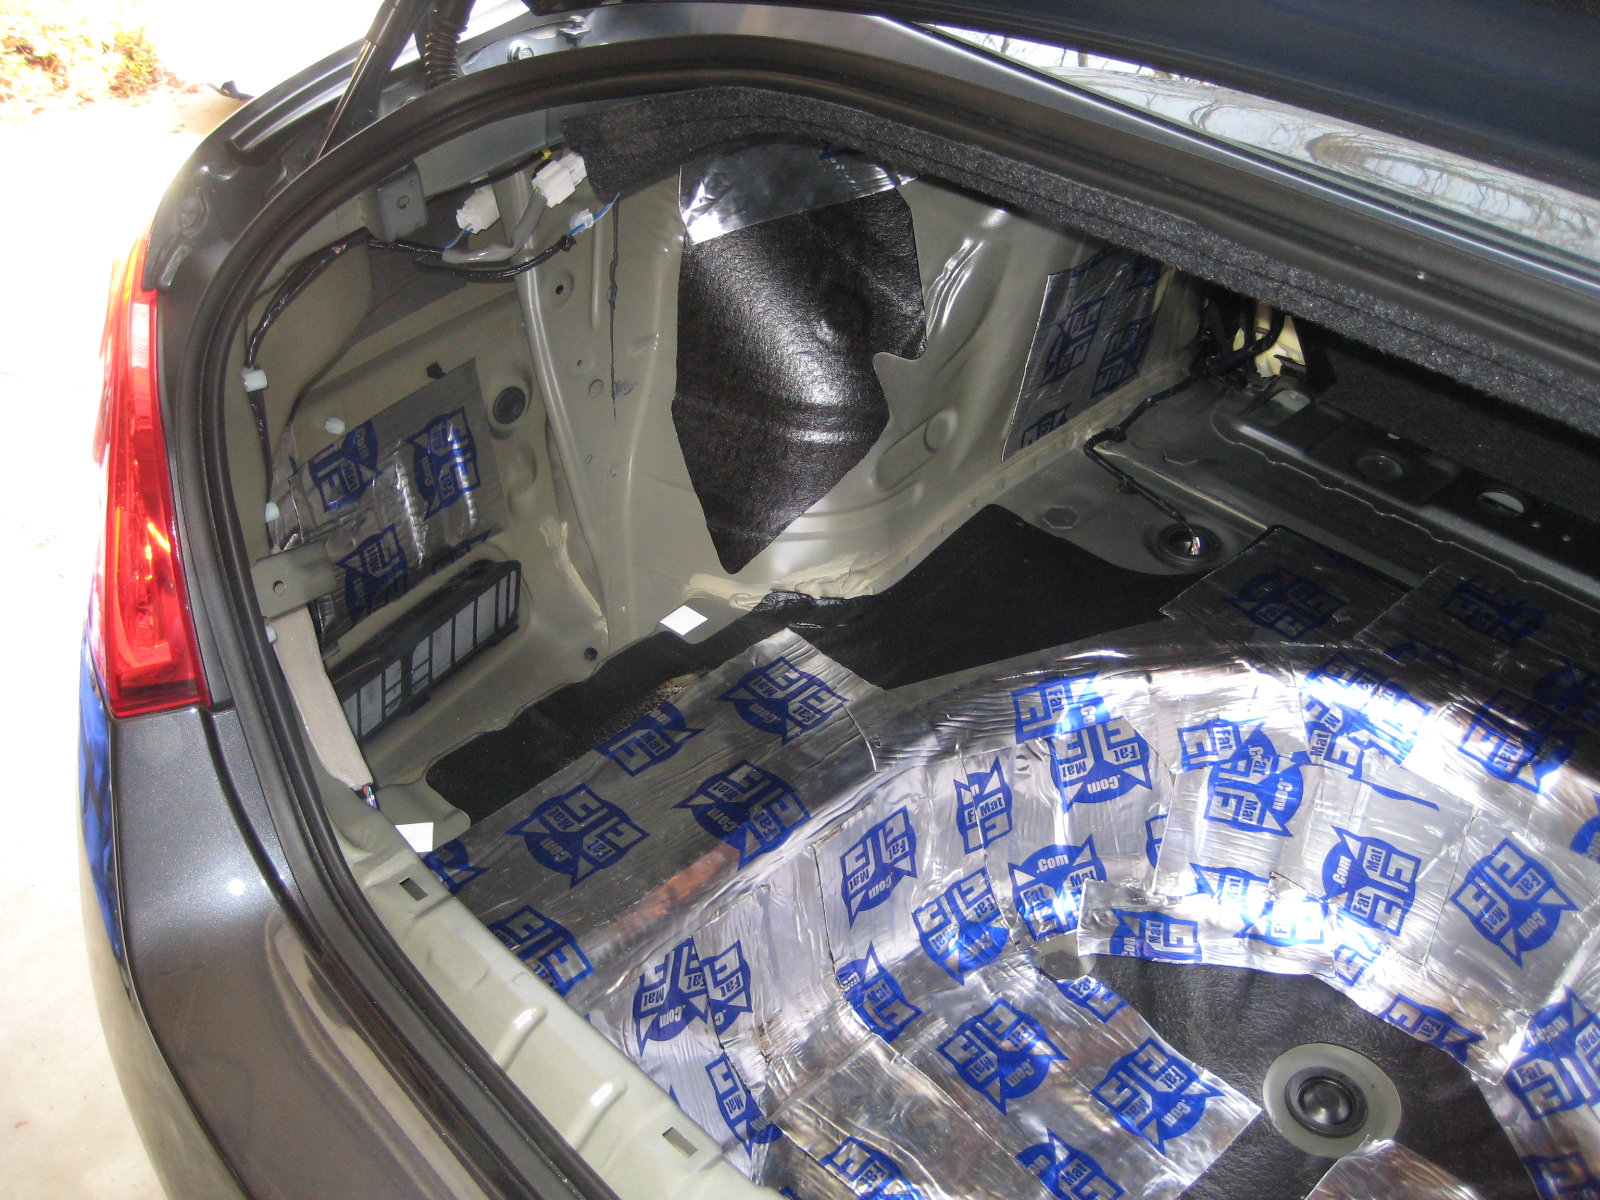
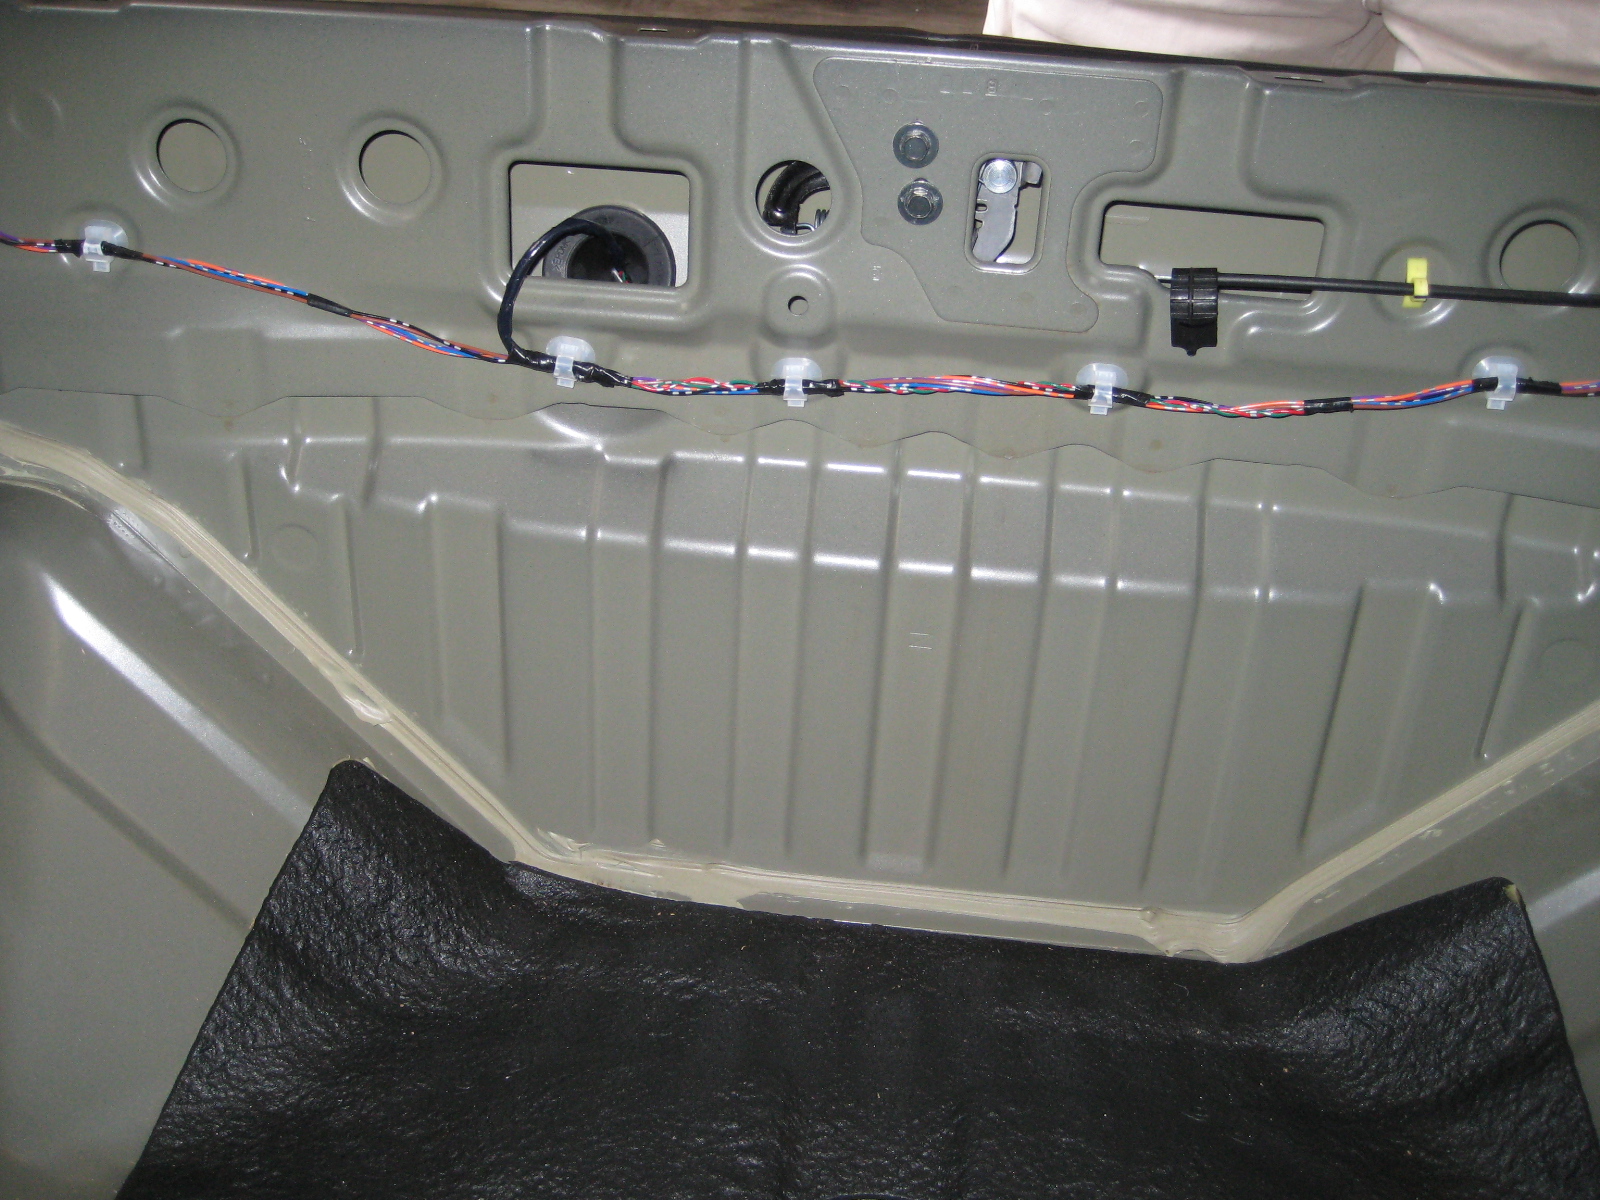
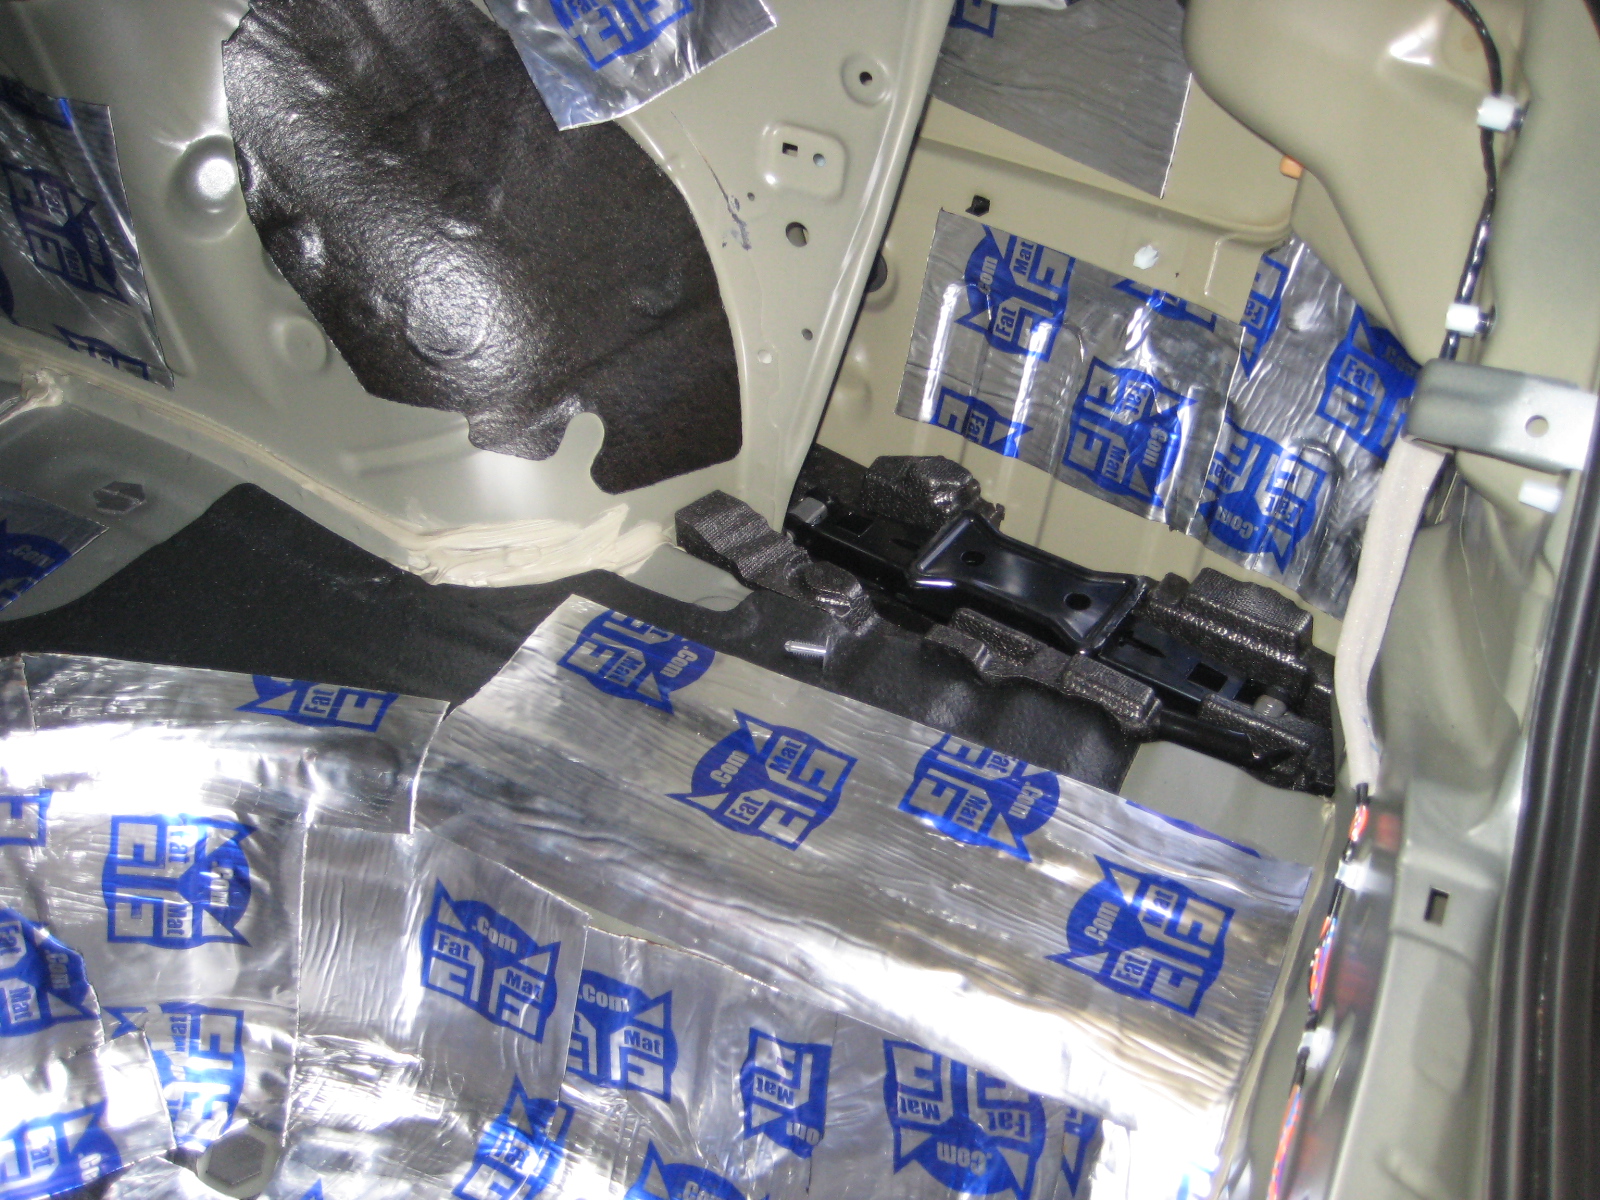
Once you have the linings removed, the real fun begins; laying down the sound deadening material. No matter which brand you chose, it comes in rolls or sheets. I prefer rolls, but the process is the same for both. Start by noting all the plugs, grommets, holes for fasteners, as well as fuel tank and other wiring. You generally don’t want to cover over these things.

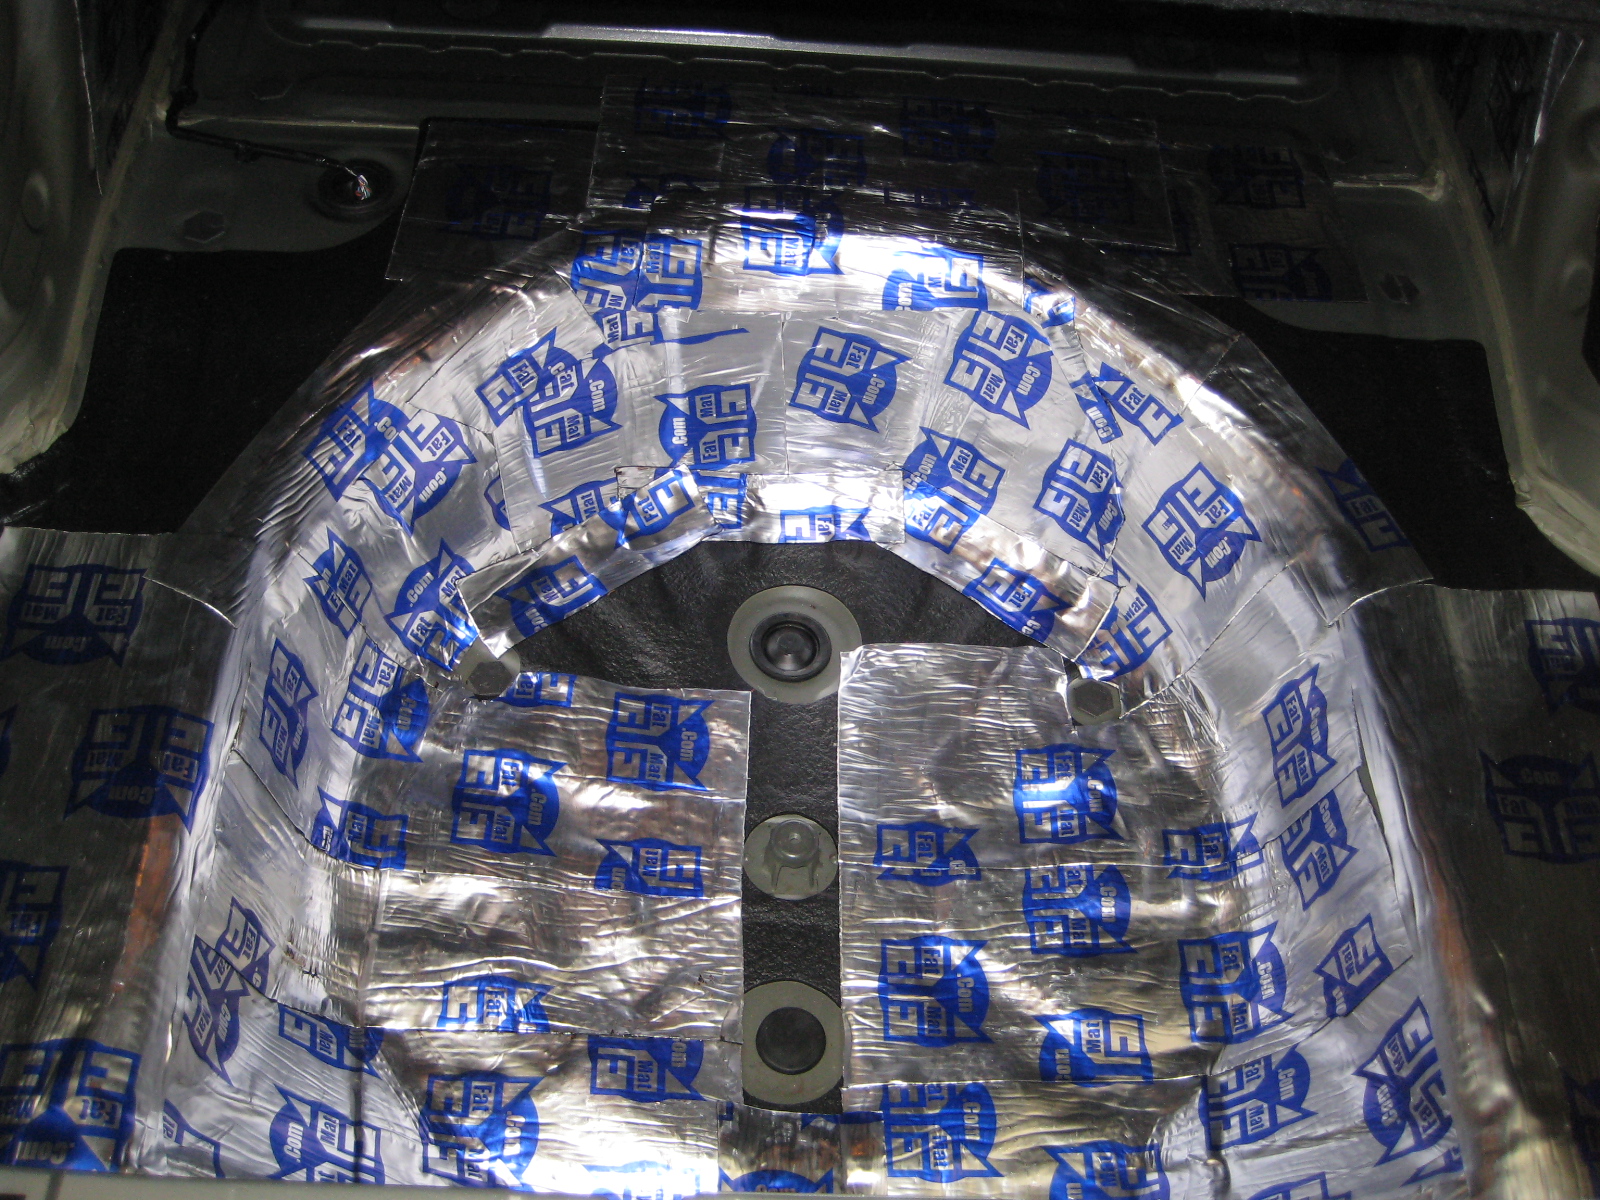
 We’ll start with the spare tire well. Cut out a piece of the sound deadening material about six inches in width. Take it to the car, and peel off the backing tape. Start with one end, preferably towards the center of the spare tire well. Let one end stick to the metal there, and using your roller, rub back and forth as you lay down the material. You want to press the material to the metal. This helps it adhere and makes it the most effective at deadening sounds.
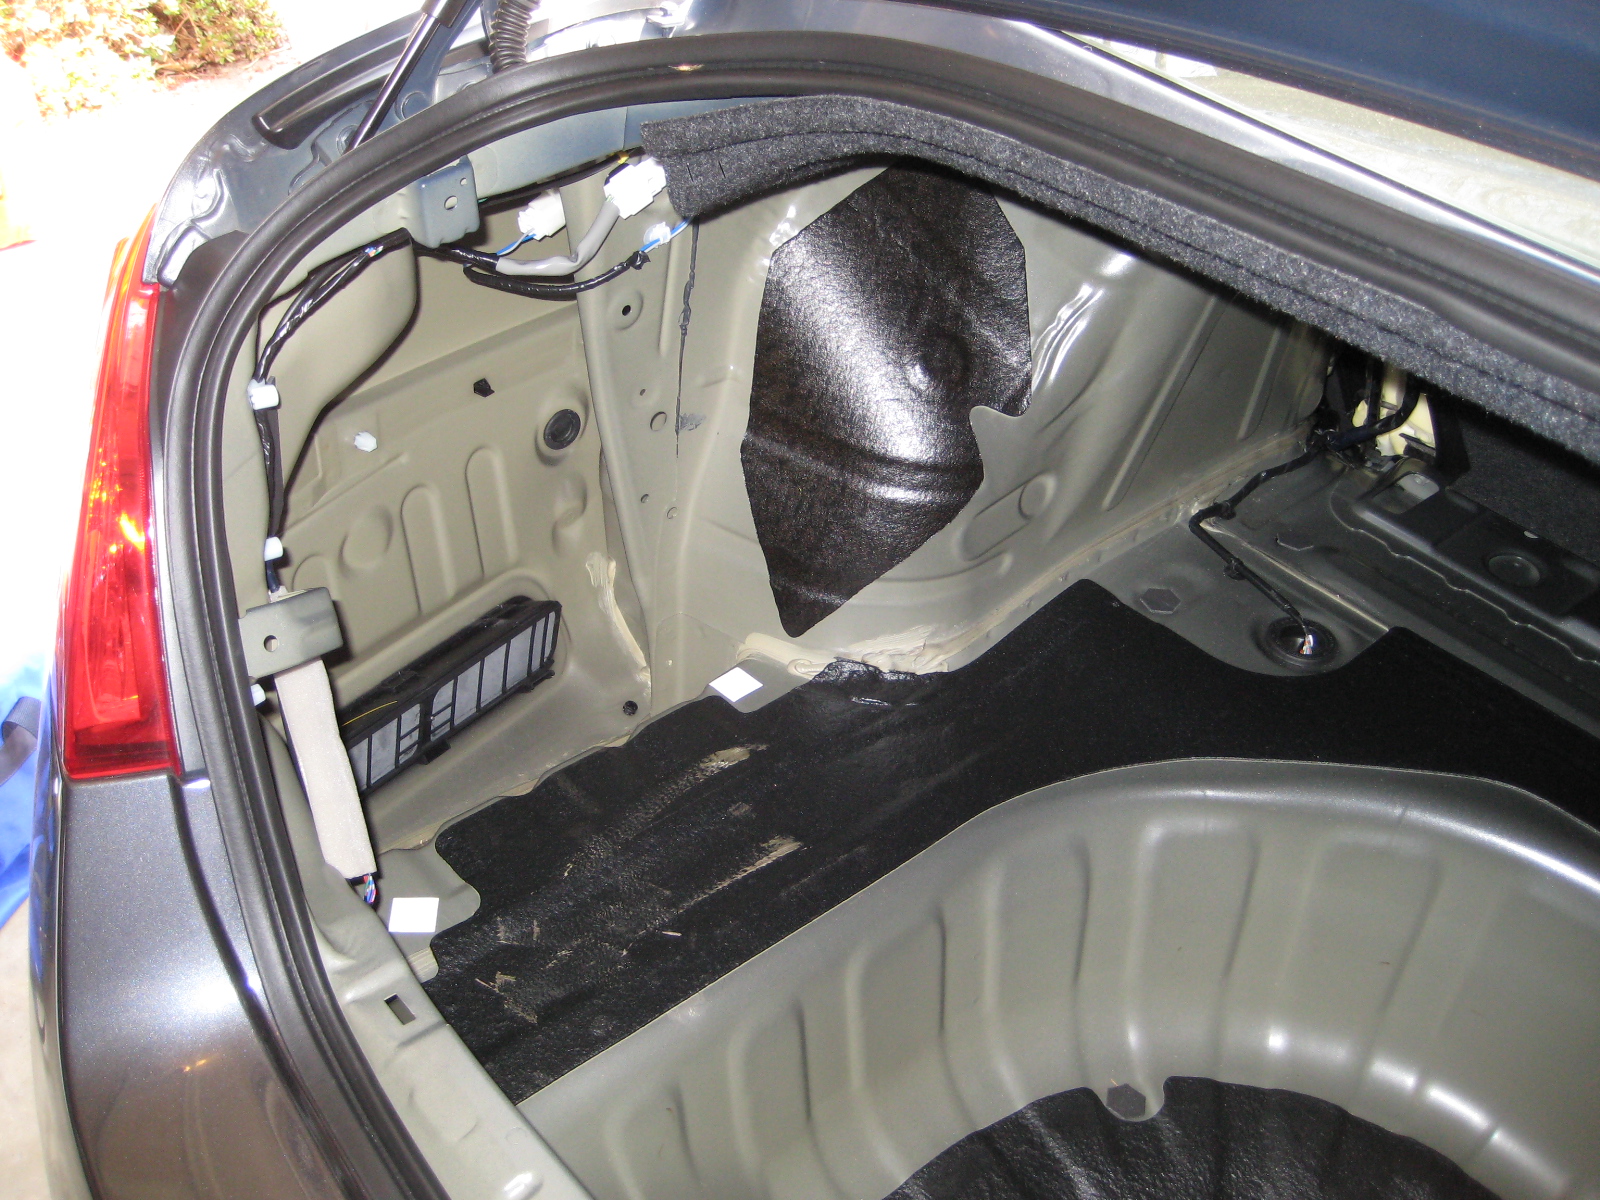
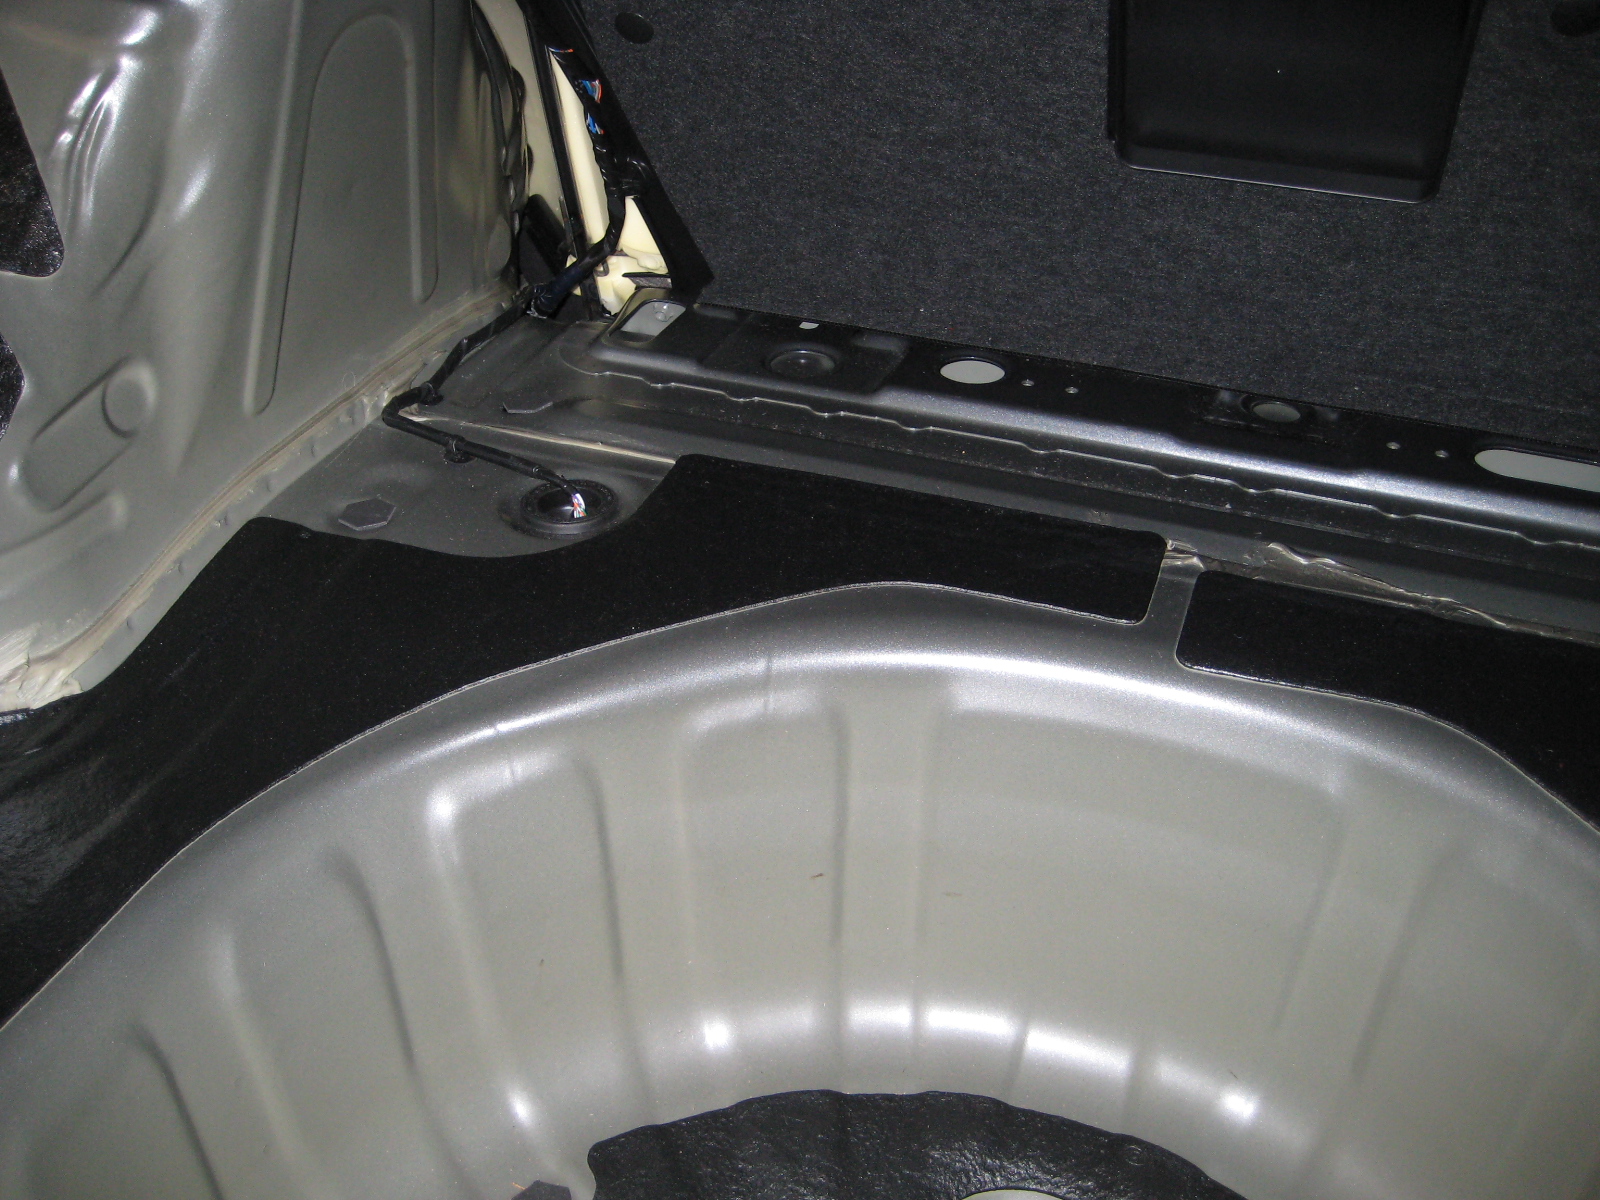
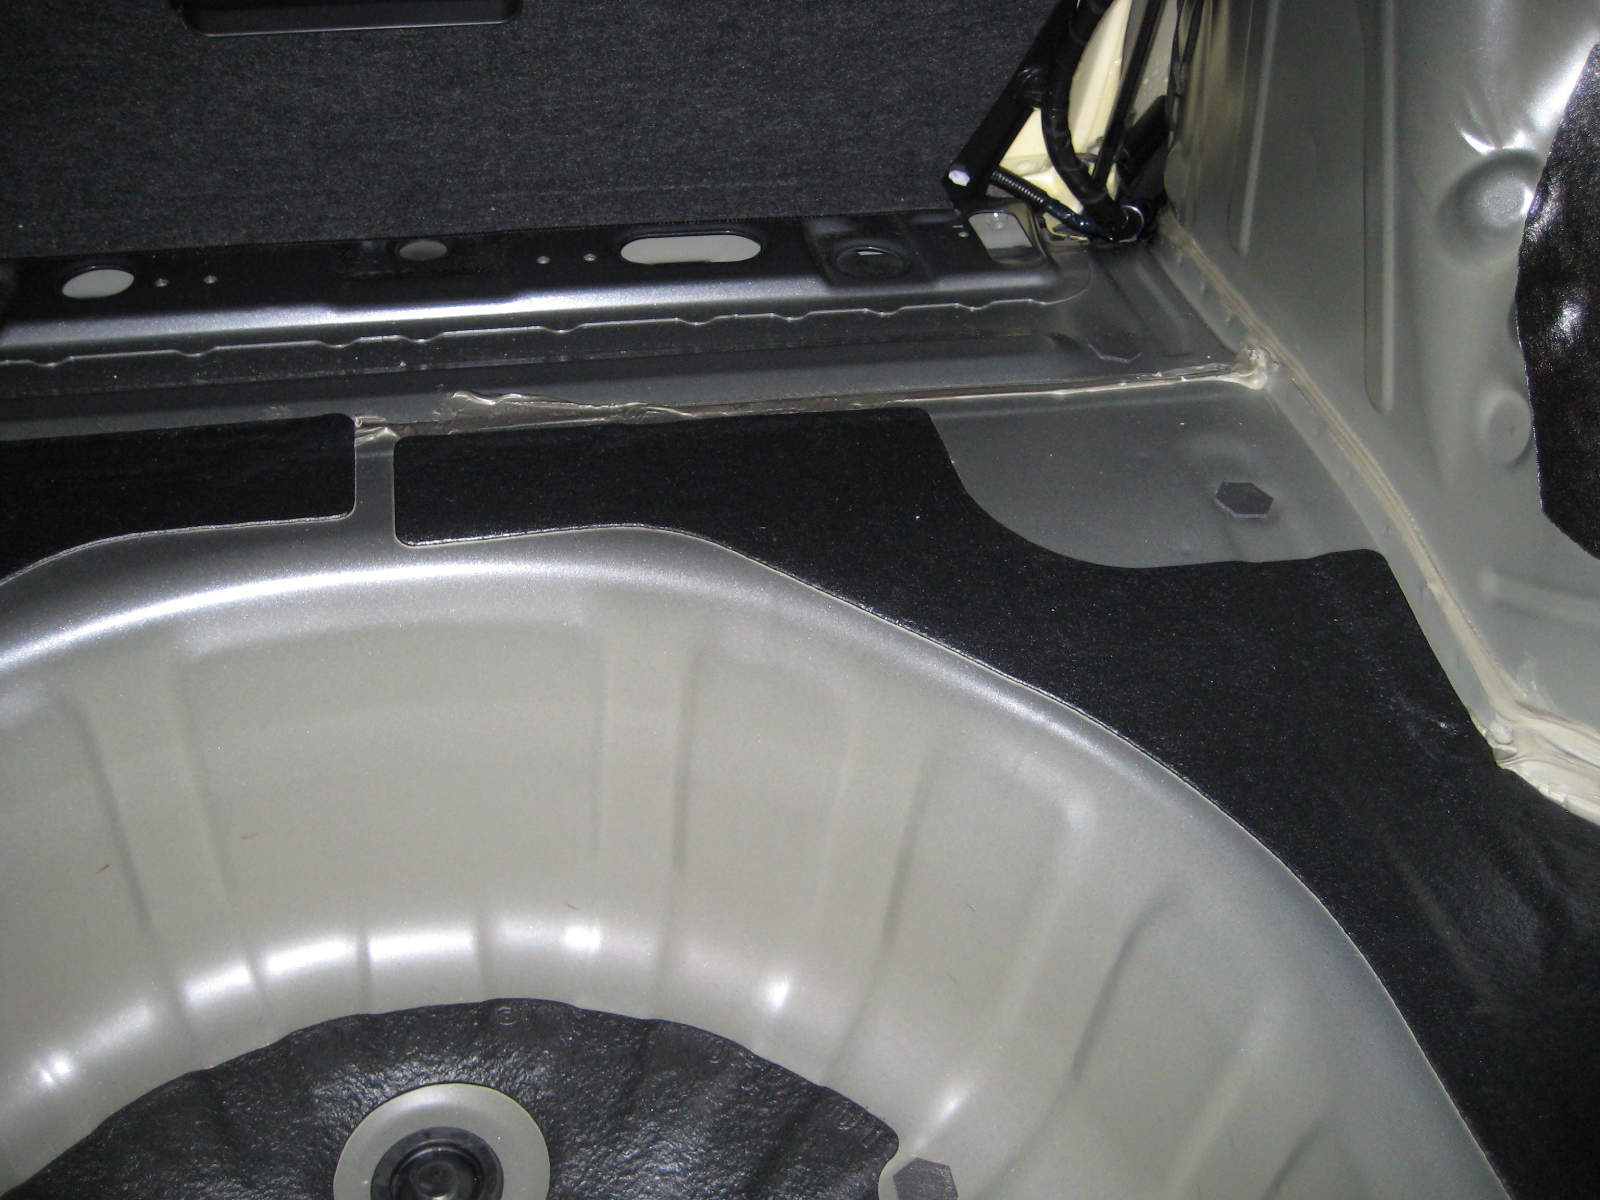
 Once you have the first piece in, cut and apply more pieces, one at a time, until you’ve gone around the entire spare tire well. Now, cut triangle-shaped pieces to cover any places that aren’t covered in the material. When finished, you shouldn’t see bare metal in the spare tire well. Remember to leave any plugs, grommets and the hole the spare tire’s lockdown bolt goes into.

 Here’s where I didn’t go crazy with the material: I only covered some of the rest of the bare metal in the trunk. If you’re deadening the whole car, you need to cover all bare metal, but if you just want your car to be a little quieter, feel free to skimp on the material here. I made sure to apply some to the top and sides of the wheel wells, as this is where a lot of road noise gets into the car. I also applied some material to the flatter spaces, as well as any larger, open spaces. This cuts down on some of the vibration of the metal as well.
If you’re happy here, take the car for a quick spin and see how much the noise as changed. You’ll probably notice a lot less exhaust noise/vibration, and any road noise still coming into the car should sound like it’s coming from the front. If you’re not happy, go back and cover more bare metal with your sound deadening material. Remember that it’s only going to do so much, but you should still notice a difference, as I did.

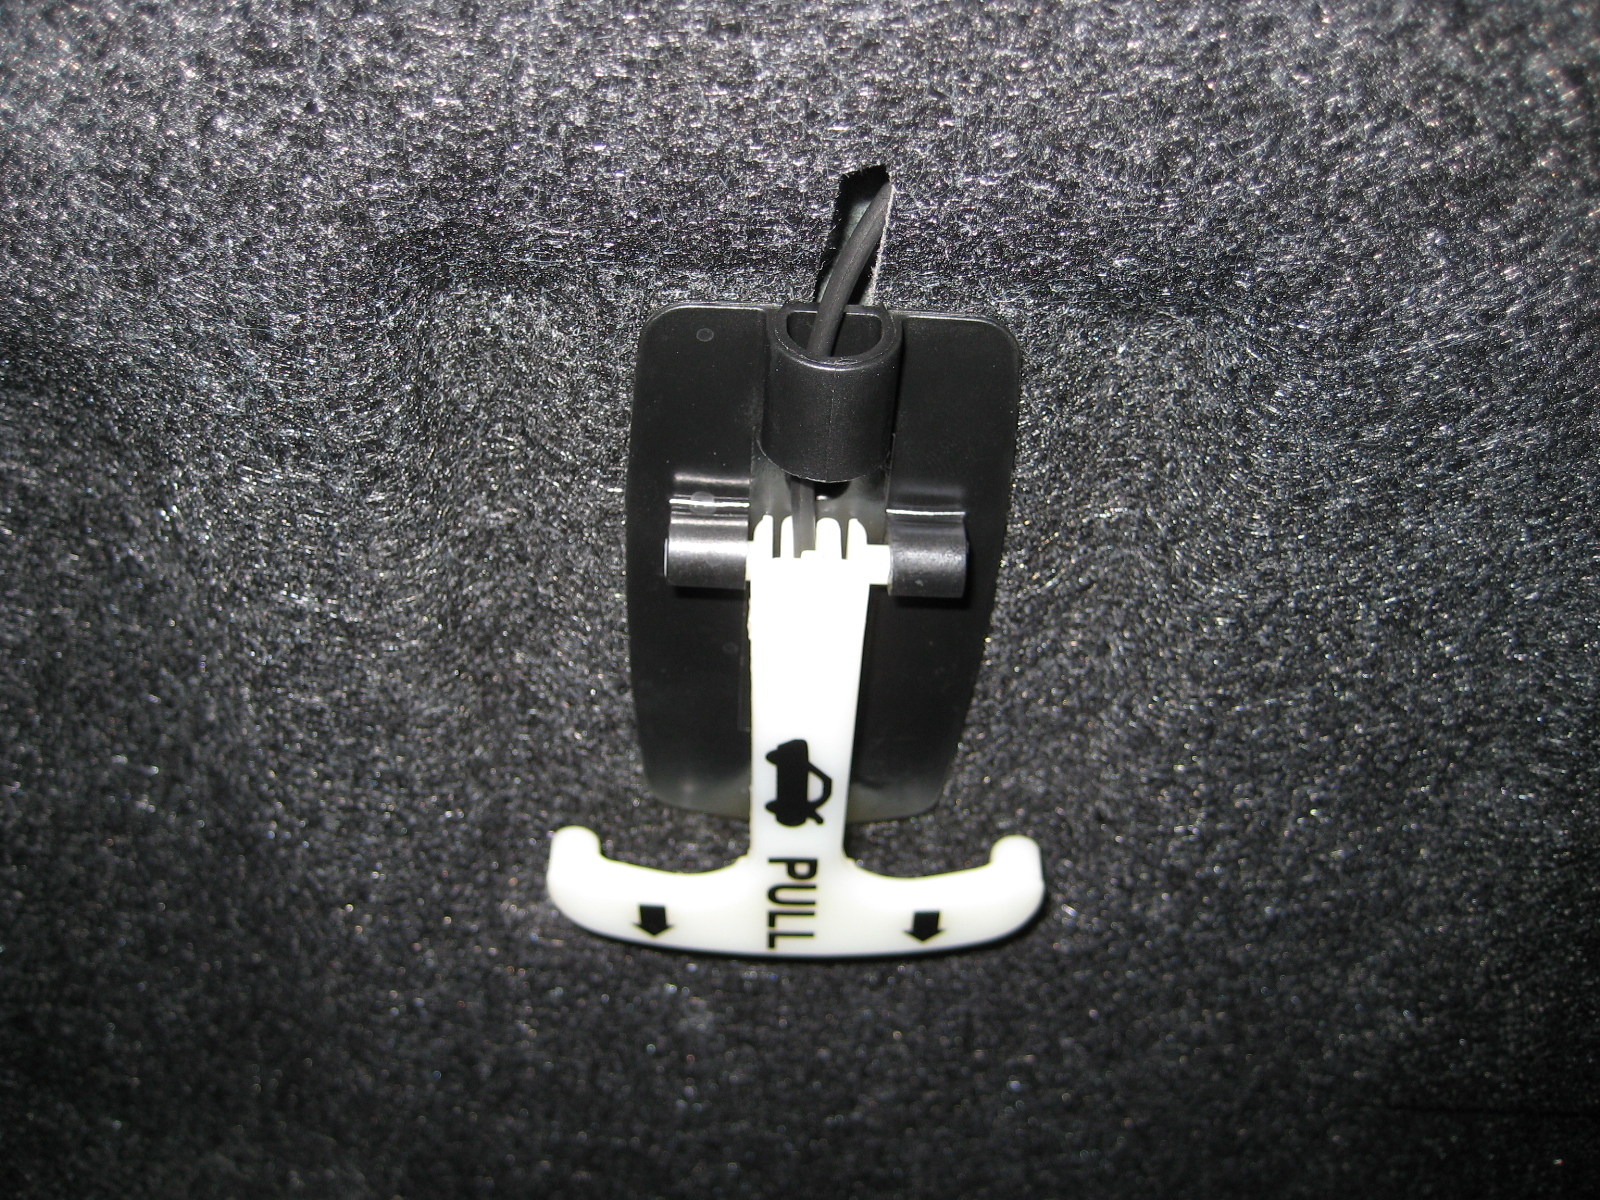
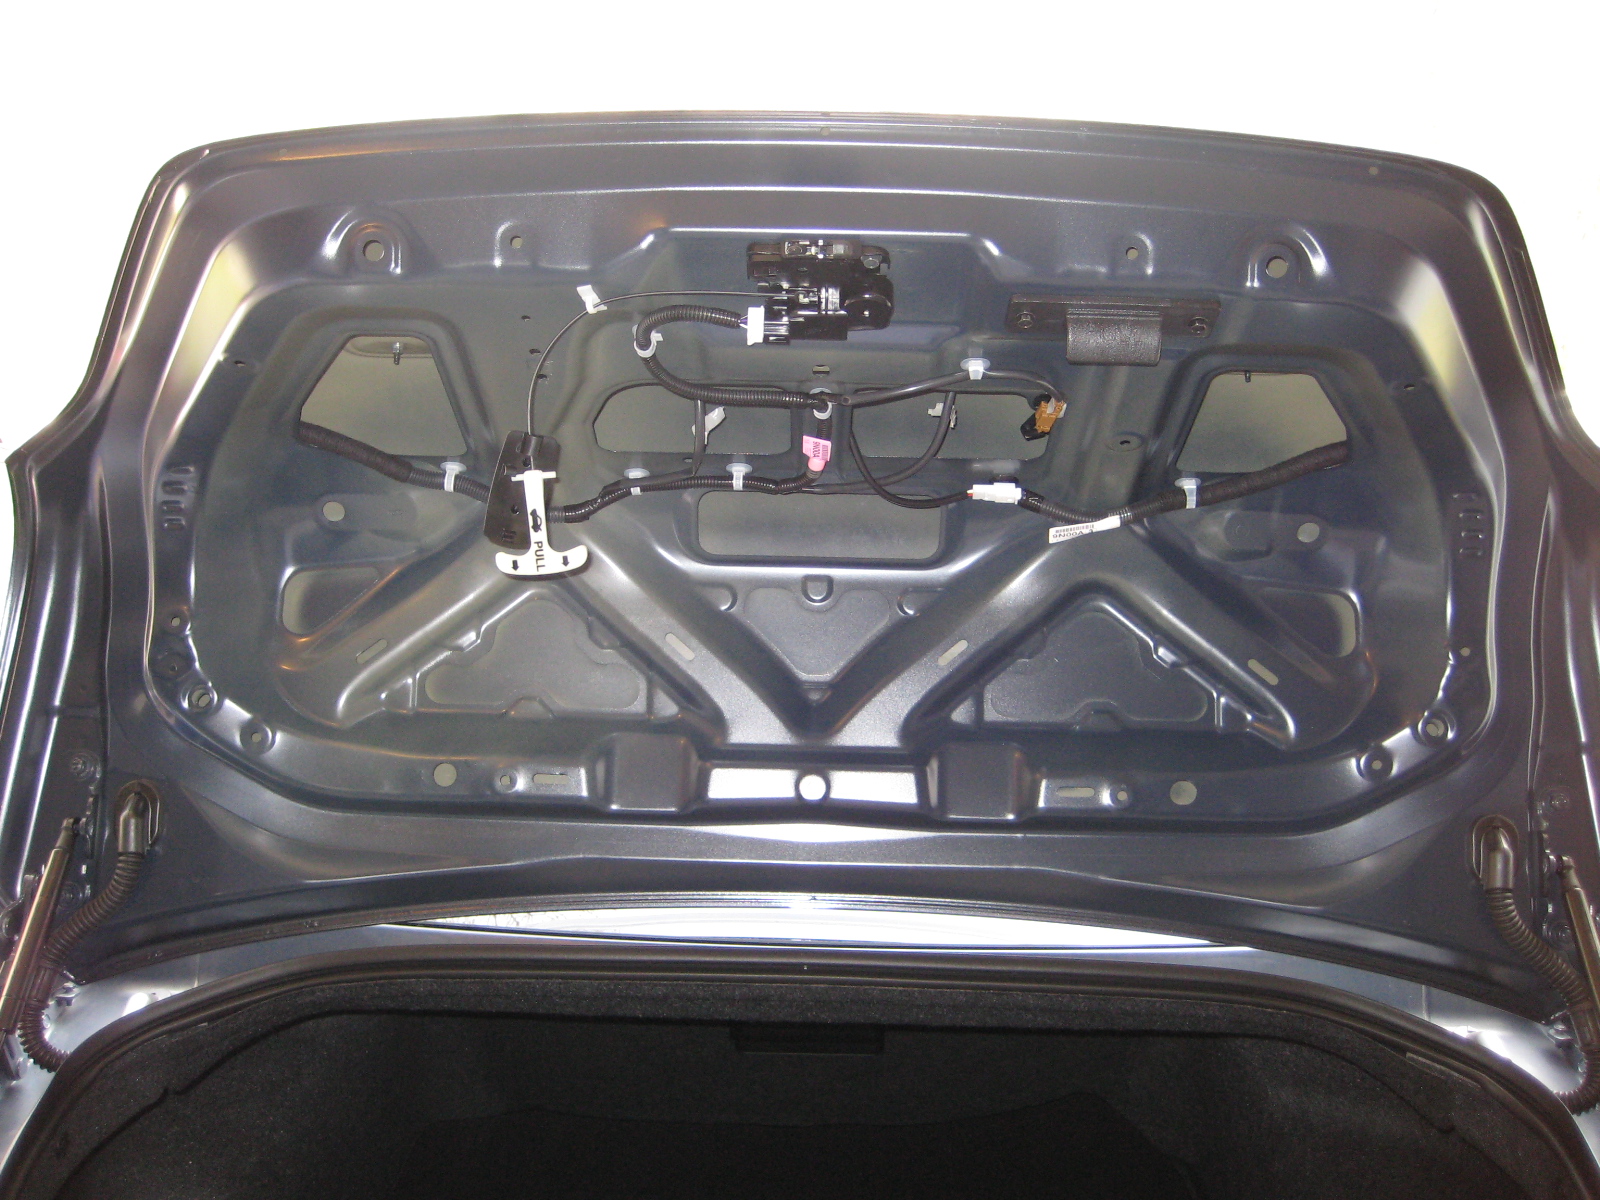
 I went an extra step here and removed the lining on the trunk lid. This required prying off the glow-in-the-dark pull handle and the rubber stoppers, as well as plenty of fasteners. I covered all the larger areas of bare metal with my sound deadening material, and afterwards, the trunk closes with a more solid thunk than before, and a little less noise comes into the car here. You don’t have to do this, but it’s fairly easy, so why not?
Now that you’re done applying the sound deadening material, reverse the steps you took to remove the trunk linings, spare tire and tire-changing equipment. When everything is done, you shouldn’t have any leftover fasteners, and everything should fit like new.
Gallery of pictures taken during the sound deadening process:

by John Suit
Thank you for the information I agree with you that Maxima 2010 is noisy I am paling to do all my car with dynomat shortly.
Thank you